

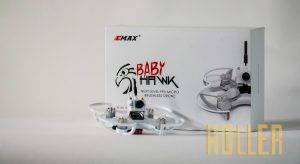
Emax Babyhawk
The Babyhawk from Emax is a micro brushless quadcopter this is tons of fun to fly. It runs on an EMAX Femto micro F3 flight controller with STM32F303
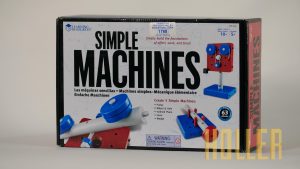
Simple Machines
Simple Machines Set contains enough pieces to build a lever, pulley, inclined plane, wheel and axle, and wedge

Makey Makey
An electronic invention kit for all ages! It allows you to take everyday objects and combine them with the internet.
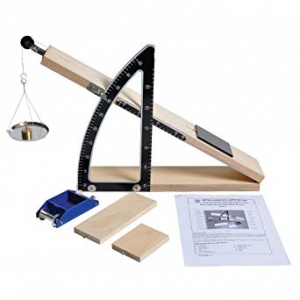
Friction Inclined plane
Students are introduced to the concept of simple tools and how they can make difficult or impossible tasks easier
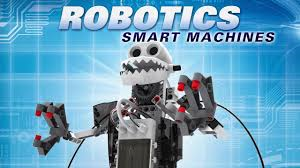
Robotics smart machines
Robotics is a vast, thrilling, and sometimes overwhelming interdisciplinary field involving physics, engineering, and computer science. This kit gives kids a simple, fun.

Robot Mouse
Build your maze, and then use the Coding cards to create a step-by-step path for the programmable robot mouse.